もう何年も前からプロジェクト管理ツールでなにがいいかと問われたら、
金があれば JIRA 一択と言われてきたが、実はちゃんと触ったことがなかった。
安いし本気で使うつもりでライセンス買ってみたのでインストールしてみる。
Web/App サーバに nginx と JIRA/Confluence をインストールする
nginx をインストール
# rpm -ivh http://nginx.org/packages/centos/6/noarch/RPMS/nginx-release-centos-6-0.el6.ngx.noarch.rpm
# vi /etc/yum.repos.d/nginx.repo
enable=0
# yum install --enablerepo=nginx nginx
JIRA と Confluence をインストール
# cd /usr/local/src/
# wget http://www.atlassian.com/software/jira/downloads/binary/atlassian-jira-6.3.10-x64.bin
# wget http://www.atlassian.com/software/confluence/downloads/binary/atlassian-confluence-5.6.4-x64.bin
# chmod +x atlassian-jira-6.3.10-x64.bin
# chmod +x atlassian-confluence-5.6.4-x64.bin
# ./atlassian-jira-6.3.10-x64.bin
Unpacking JRE ...
Starting Installer ...
11 13, 2014 12:49:31 午前 java.util.prefs.FileSystemPreferences$1 run
情報: Created user preferences directory.
11 13, 2014 12:49:31 午前 java.util.prefs.FileSystemPreferences$2 run
情報: Created system preferences directory in java.home.

This will install JIRA 6.3.10 on your computer.
OK [o, Enter], Cancel [c]

Choose the appropriate installation or upgrade option.
Please choose one of the following:
Express Install (use default settings) [1], Custom Install (recommended for advanced users) [2, Enter], Upgrade an existing JIRA installation [3]


Where should JIRA 6.3.10 be installed?
[/opt/atlassian/jira]
/usr/local/atlassian/jira
Default location for JIRA data
[/var/atlassian/application-data/jira]

Configure which ports JIRA will use.
JIRA requires two TCP ports that are not being used by any other
applications on this machine. The HTTP port is where you will access JIRA
through your browser. The Control port is used to Startup and Shutdown JIRA.
Use default ports (HTTP: 8080, Control: 8005) - Recommended [1, Enter], Set custom value for HTTP and Control ports [2]

JIRA can be run in the background.
You may choose to run JIRA as a service, which means it will start
automatically whenever the computer restarts.
Install JIRA as Service?
Yes [y, Enter], No [n]


Extracting files ...


Please wait a few moments while JIRA starts up.
Launching JIRA ...
Installation of JIRA 6.3.10 is complete
Your installation of JIRA 6.3.10 is now ready and can be accessed via your
browser.
JIRA 6.3.10 can be accessed at http://localhost:8080
Finishing installation ...

# ./atlassian-confluence-5.6.4-x64.bin
Unpacking JRE ...
Starting Installer ...
11 19, 2014 11:28:38 午後 java.util.prefs.FileSystemPreferences$2 run
情報: Created system preferences directory in java.home.

This will install Confluence 5.6.4 on your computer.
OK [o, Enter], Cancel [c]

Choose the appropriate installation or upgrade option.
Please choose one of the following:
Express Install (uses default settings) [1], Custom Install (recommended for advanced users) [2, Enter], Upgrade an existing Confluence installation [3]


Where should Confluence 5.6.4 be installed?
[/opt/atlassian/confluence]
/usr/local/atlassian/confluence
Default location for Confluence data
[/var/atlassian/application-data/confluence]

Configure which ports Confluence will use.
Confluence requires two TCP ports that are not being used by any other
applications on this machine. The HTTP port is where you will access
Confluence through your browser. The Control port is used to Startup and
Shutdown Confluence.
Use default ports (HTTP: 8090, Control: 8000) - Recommended [1, Enter], Set custom value for HTTP and Control ports [2]

Confluence can be run in the background.
You may choose to run Confluence as a service, which means it will start
automatically whenever the computer restarts.
Install Confluence as Service?
Yes [y, Enter], No [n]


Extracting files ...


Please wait a few moments while Confluence starts up.
Launching Confluence ...
Installation of Confluence 5.6.4 is complete
Your installation of Confluence 5.6.4 is now ready and can be accessed via
your browser.
Confluence 5.6.4 can be accessed at http://localhost:8090
Finishing installation ...
JDBC ドライバを設置して再起動
#  wget http://dev.mysql.com/get/Downloads/Connector-J/mysql-connector-java-5.1.30.tar.gz
#  tar xvfz mysql-connector-java-5.1.30.tar.gz
#  cp mysql-connector-java-5.1.30-bin.jar /usr/local/atlassian/jira/lib/
#  cp mysql-connector-java-5.1.30-bin.jar /usr/local/atlassian/confluence/confluence/WEB-INF/lib/
# /etc/init.d/jira stop
# /etc/init.d/confluence stop
# /etc/init.d/jira start
# /etc/init.d/confluence start
JIRA や Confluence の初期設定はすごく時間がかかるため、
「504 gateway time-out nginx」とタイムアウトすることがある。
なので timeout の時間を伸ばしておく。
- HttpProxyModule - Nginx Community
いろいろ書いてみたけど proxy_read_timeout と proxy_send_timeout を
書いたあとに効果が出たので、これだけでもいいと思う。
#  vi /etc/nginx/conf.d/jira.conf
proxy_cache_path   /var/run/nginx-cache levels=1:2 keys_zone=nginx-cache:50m max_size=50m inactive=1440m;
proxy_temp_path    /var/run/nginx-cache/tmp;

server {
server_name jira.example.com;

fastcgi_connect_timeout 300s;
fastcgi_send_timeout 300s;
fastcgi_read_timeout 300s;
send_timeout 180;

location / {
proxy_set_header        Host $host;
proxy_set_header        X-Forwarded-Host $host;
proxy_set_header        X-Forwarded-Server $host;
proxy_set_header        X-Forwarded-For $proxy_add_x_forwarded_for;
proxy_set_header        X-Real-IP  $remote_addr;
proxy_pass              http://127.0.0.1:8080;

set $do_not_cache 0;

if ($request_uri ~* ^(/secure/admin|/plugins|/secure/project)) {
set $do_not_cache 1;
}

proxy_cache             nginx-cache;
proxy_cache_key         "$scheme://$host$request_uri";
proxy_cache_bypass      $do_not_cache;
proxy_cache_valid       1440m;
proxy_cache_min_uses    1;

proxy_read_timeout 300;
proxy_send_timeout 300;
}
}
#  vi /etc/nginx/conf.d/confluence.conf
proxy_cache_path   /var/run/nginx-cache levels=1:2 keys_zone=nginx-cache:50m max_size=50m inactive=1440m;
proxy_temp_path    /var/run/nginx-cache/tmp;

server {
server_name confluence.example.com;
fastcgi_connect_timeout 300s;
fastcgi_send_timeout 300s;
fastcgi_read_timeout 300s;
send_timeout 180;

location / {
proxy_set_header        Host $host;
proxy_set_header        X-Forwarded-Host $host;
proxy_set_header        X-Forwarded-Server $host;
proxy_set_header        X-Forwarded-For $proxy_add_x_forwarded_for;
proxy_set_header        X-Real-IP  $remote_addr;
proxy_pass              http://127.0.0.1:8090;

set $do_not_cache 0;

if ($request_uri ~* ^(/secure/admin|/plugins|/secure/project)) {
set $do_not_cache 1;
}

proxy_cache             nginx-cache;
proxy_cache_key         "$scheme://$host$request_uri";
proxy_cache_bypass      $do_not_cache;
proxy_cache_valid       1440m;
proxy_cache_min_uses    1;

proxy_read_timeout 300;
proxy_send_timeout 300;
}
}
#  /etc/init.d/nginx start
DB サーバにアクセスできるか確認
# vi /etc/yum.repos.d/mysql-community.repo
# yum --enablerepo=mysql56-community install mysql-community-client
# mysql -u jirauser -h 192.168.0.3 -p
# mysql -u confluenceuser -h 192.168.0.3 -p
DB サーバに MySQL をインストールする
MySQL を yum でインストール
# rpm -ivh http://dev.mysql.com/get/mysql-community-release-el6-5.noarch.rpm
# vi /etc/yum.repos.d/mysql-community.repo
# yum --enablerepo=mysql56-community install mysql-community-server
# cp -a /etc/my.cnf /etc/my.cnf.org
# vi /etc/my.cnf
# /etc/init.d/mysqld start
JIRA と Confluence 用の DB を作る
# mysql -u root
Welcome to the MySQL monitor.  Commands end with ; or \g.
Your MySQL connection id is 2
Server version: 5.6.21-log MySQL Community Server (GPL)

Copyright (c) 2000, 2014, Oracle and/or its affiliates. All rights reserved.

Oracle is a registered trademark of Oracle Corporation and/or its
affiliates. Other names may be trademarks of their respective
owners.

Type 'help;' or '\h' for help. Type '\c' to clear the current input statement.

mysql> CREATE DATABASE jiradb CHARACTER SET utf8 COLLATE utf8_bin;
Query OK, 1 row affected (0.00 sec)

mysql> GRANT SELECT,INSERT,UPDATE,DELETE,CREATE,DROP,ALTER,INDEX on jiradb.* TO [email protected] IDENTIFIED BY 'jirapass';
Query OK, 0 rows affected (0.00 sec)

mysql> flush privileges;
Query OK, 0 rows affected (0.00 sec)

mysql> CREATE DATABASE confluence CHARACTER SET utf8 COLLATE utf8_bin;
Query OK, 1 row affected (0.00 sec)

mysql> GRANT ALL PRIVILEGES ON confluence.* TO [email protected] IDENTIFIED BY 'confluencepass';
Query OK, 0 rows affected (0.00 sec)

mysql> flush privileges;
Query OK, 0 rows affected (0.00 sec)
初期設定をする
http://jira.example.com/
http://confluence.example.com/
に、それぞれアクセスして初期設定を済ませる。
かなり時間がかかるのでタイムアウト値に気をつけること。
JIRA の初期設定
特に注意することもなく完了。
メールサーバーは自前で建てるのはめんどいので gmail の SMTP を利用。

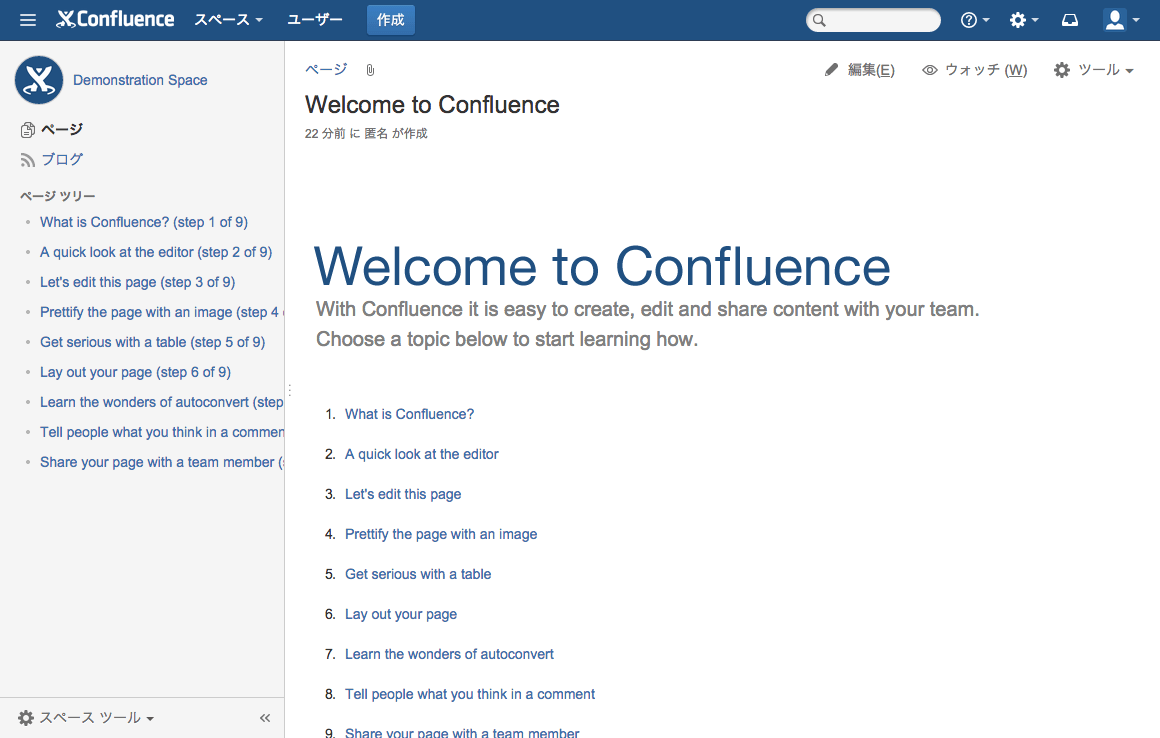
Confluence の初期設定
External Database に MySQL を選んだ後、Database URL に以下を指定。
UTF-8 を指定しておかないと日本語が化けてしまう。
jdbc:mysql://localhost:3306/confluence?autoReconnect=true&useUnicode=true&characterEncoding=utf8&sessionVariables=storage_engine%3DInnoDB